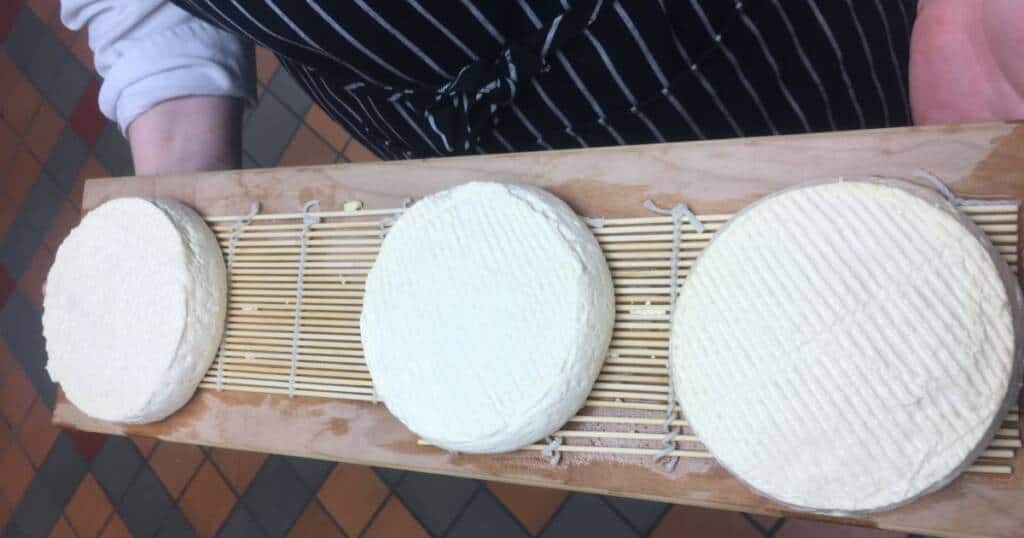
Have you ever made homemade cheese? I had the pleasure of doing just that in one of my culinary science classes with Chef JJ Lui when we created Camembert cheese. Fresh off the experience of using the totally cool rotavap machine, it’s time for a cheesier edition of “Stories from the Lab”!
Traditional Camembert is probably the most famous of all French cheeses. A soft mold-ripened cow’s milk cheese, it’s a small round that is approximately 10 centimeters in diameter. It originally was created in Normandy, France in 1791 by a woman named Marie Harel.
Cheesemaking is a delicate process that takes time and attention. It involves several critical steps over multiple days. Here’s how we did it:
Day One
- Heat the milk—we used high-quality 2.8% milkfat pasteurized cow’s milk.
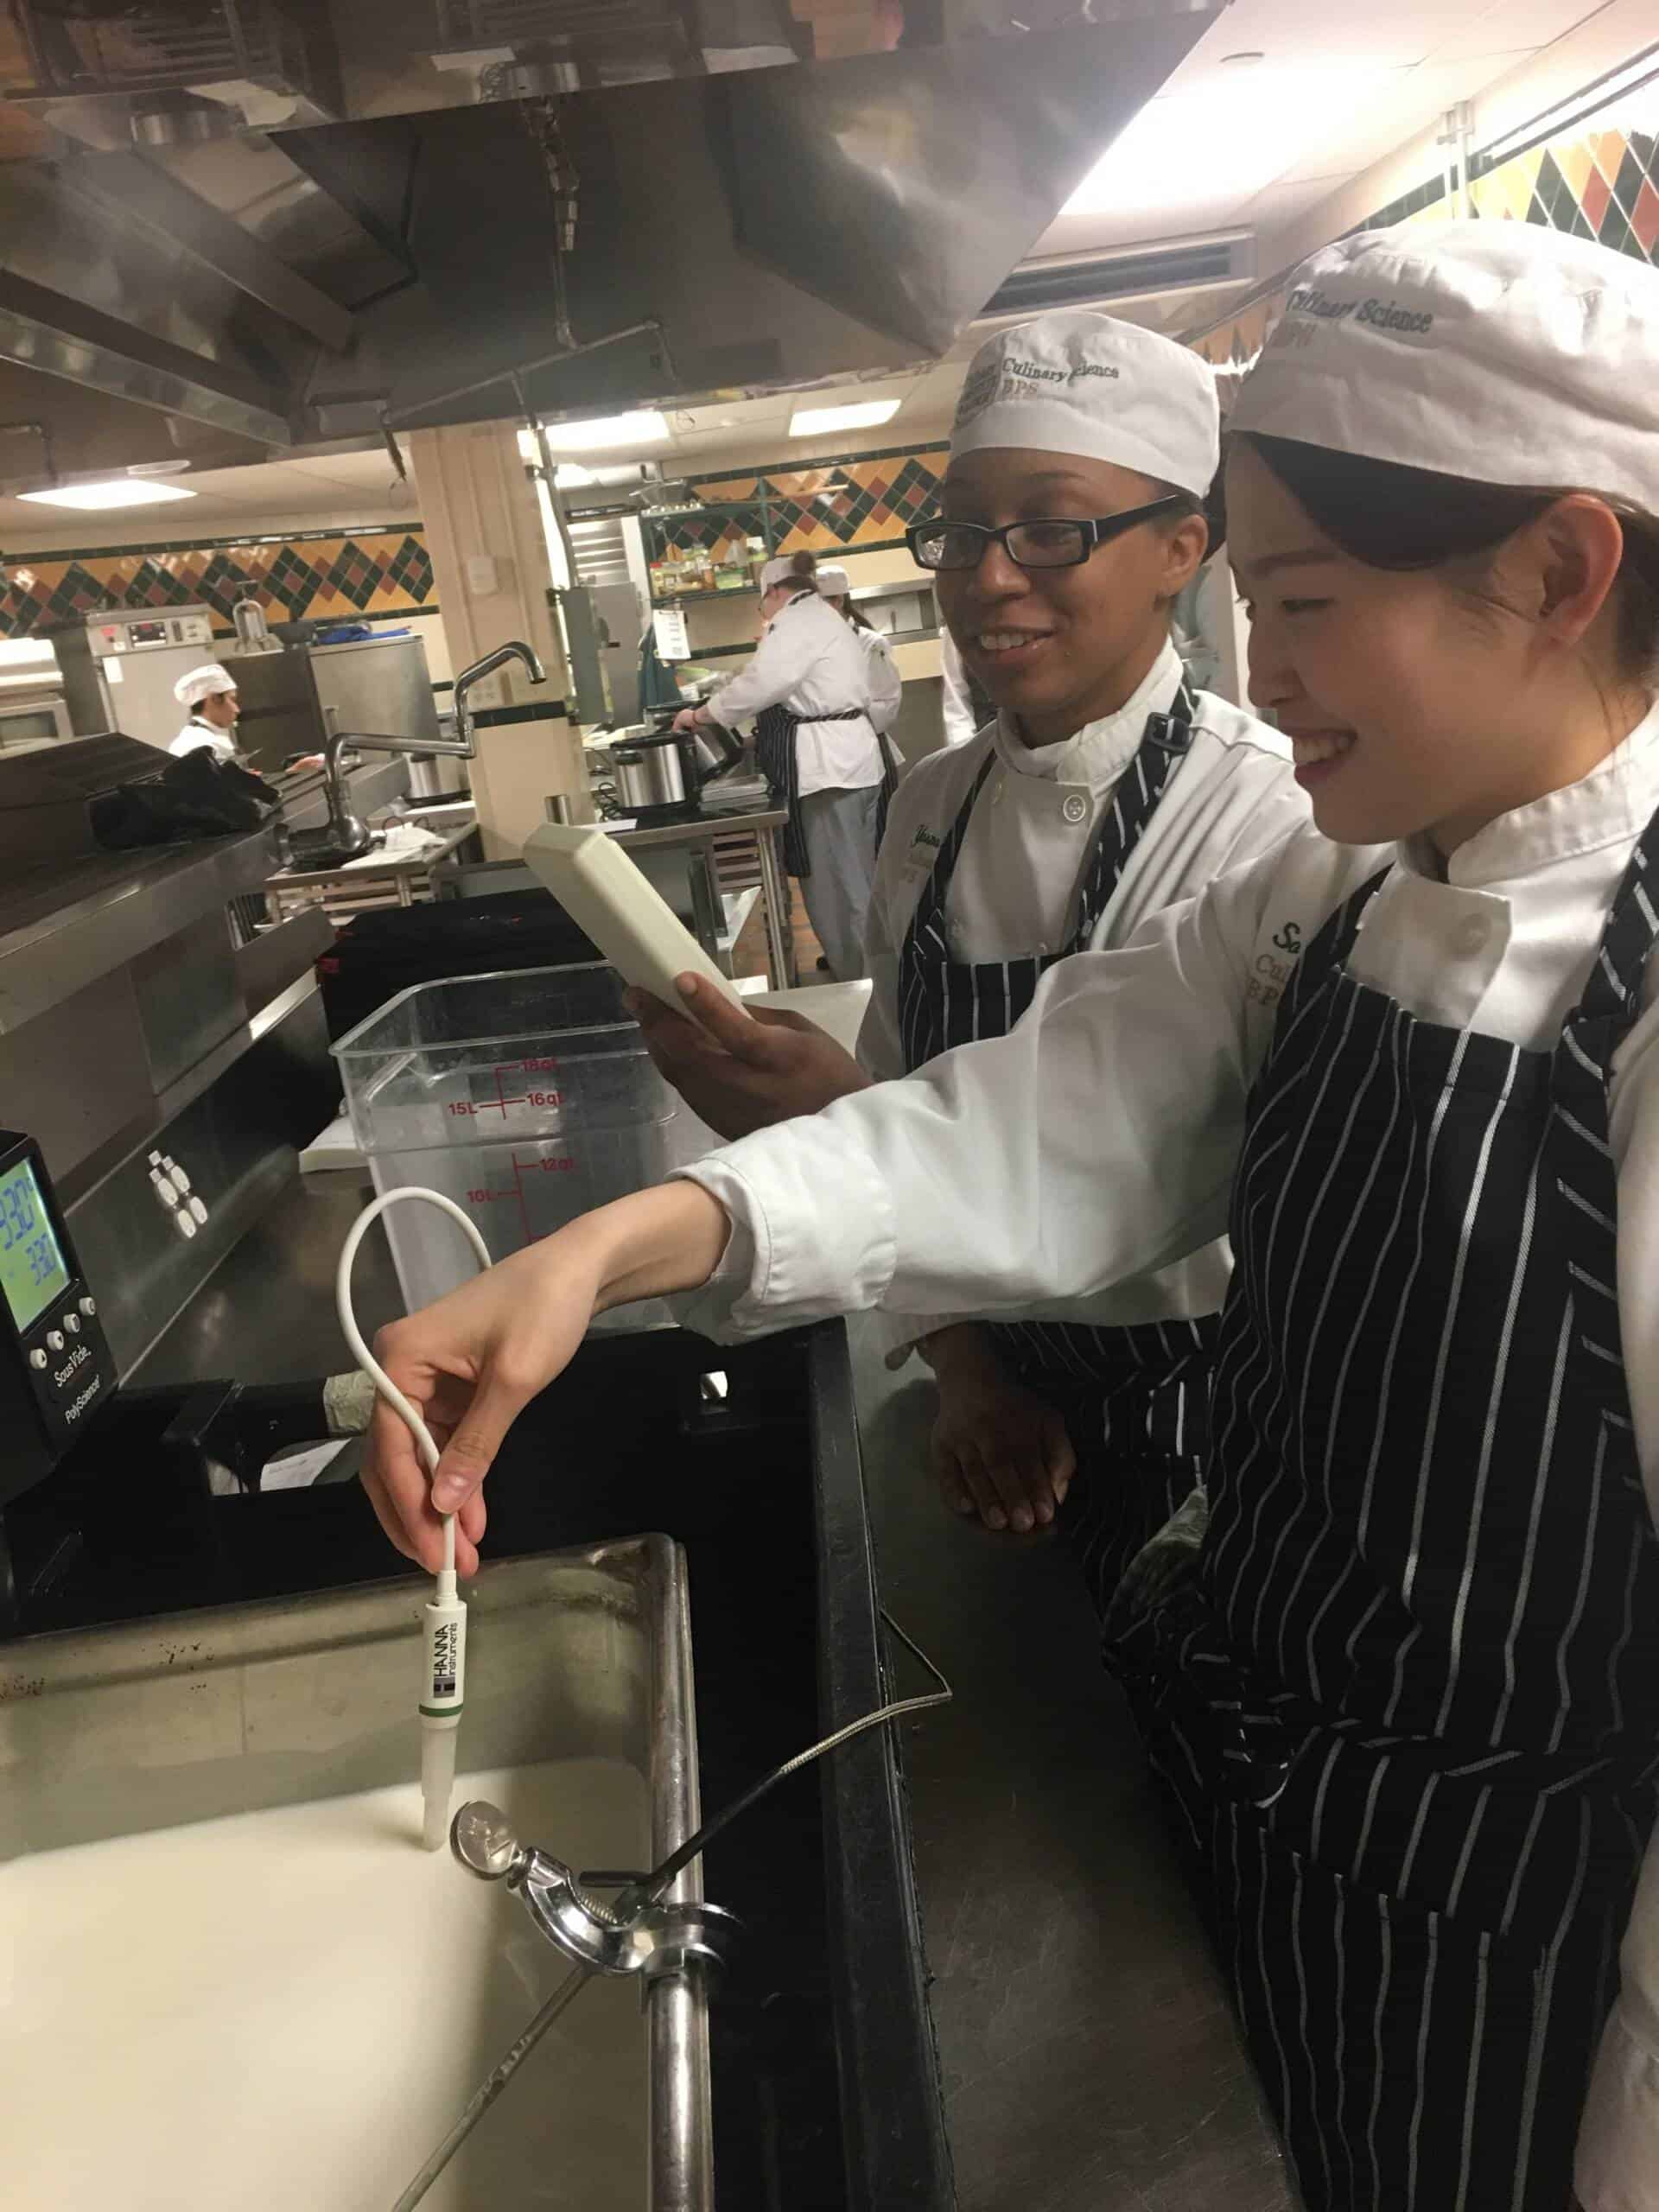
- The cold preprinting stage—add a culture called flora Danica, and hold it for 15 to 16 hours at 12 degrees Celsius.
- Heat the mixture to 33 to 43 degrees Celsius on a gas stove. The additives of 0.75 gram of calcium chloride improve rennet coagulation by forming calcium ions.
- Let the milk rest for one hour. This is called the acidification phase, where the acidification directly affects the flavor of the cheese.
- Add the rennet and cheese-coloring liquid. Most manufactured cheeses have some sort of food coloring in it. The one we used was a natural food coloring that resembled the color of red hot sauce. This ultimately will provide the cheese with a creamy, rich, and healthy-colored texture. Rennet is an enzyme used to help separate the milk into solid curds and coagulate the milk for cheesemaking. It traps some of the water, which creates a softer cheese.
- Let the mixture rest for 45 minutes so that the milk gel forms, then cut it and let it rest again for 30 minutes. 30% of the whey was removed before the curds were ladled into circular molds.
- The cheese had to be flipped every couple of hours, so we actually got to take the cheese home! (Well, our home away from home—our dorm room.)
Day Two, and Beyond
- The next day, we removed the molds from the cheese and salted them.
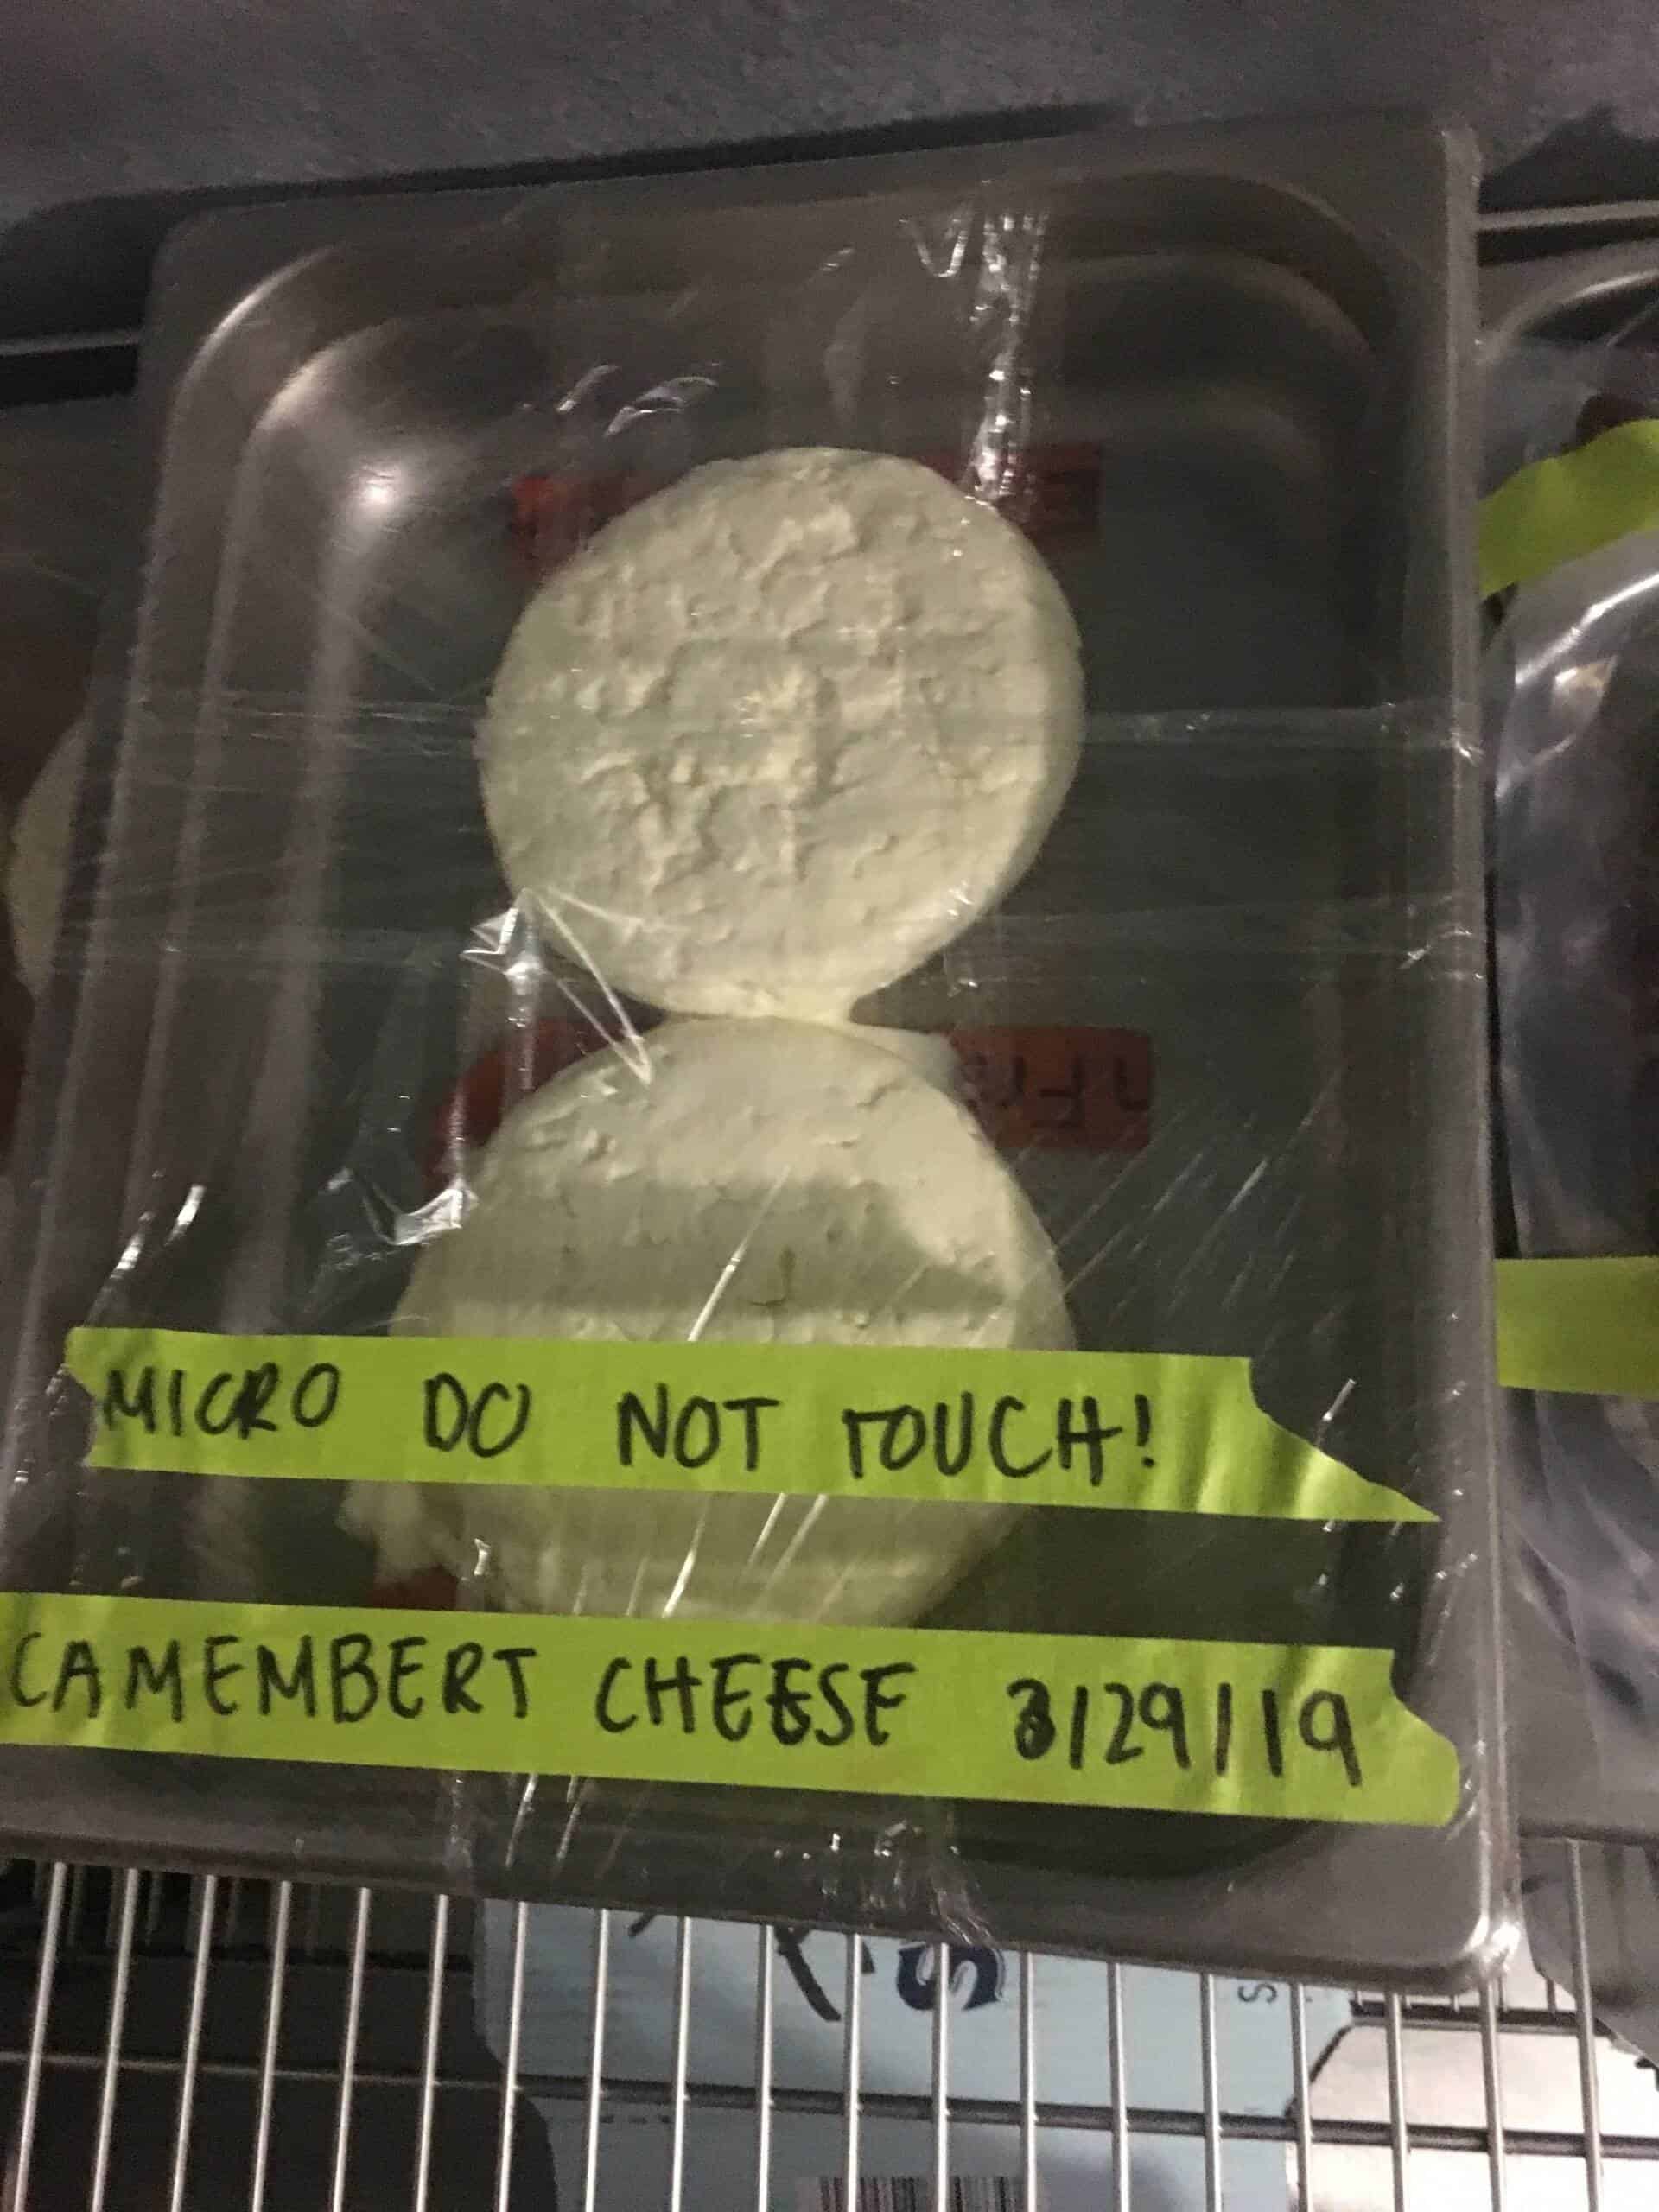
- We then stored the cheese in a unit that was temperature- and humidity-controlled. The storage unit was set at 85% relative humidity for the first day and then at 95% relative humidity for the rest of the time.
- The cheese stayed in this unit for about 10 days total. The final product should have a snowy, white rind encasing a pale, golden body.
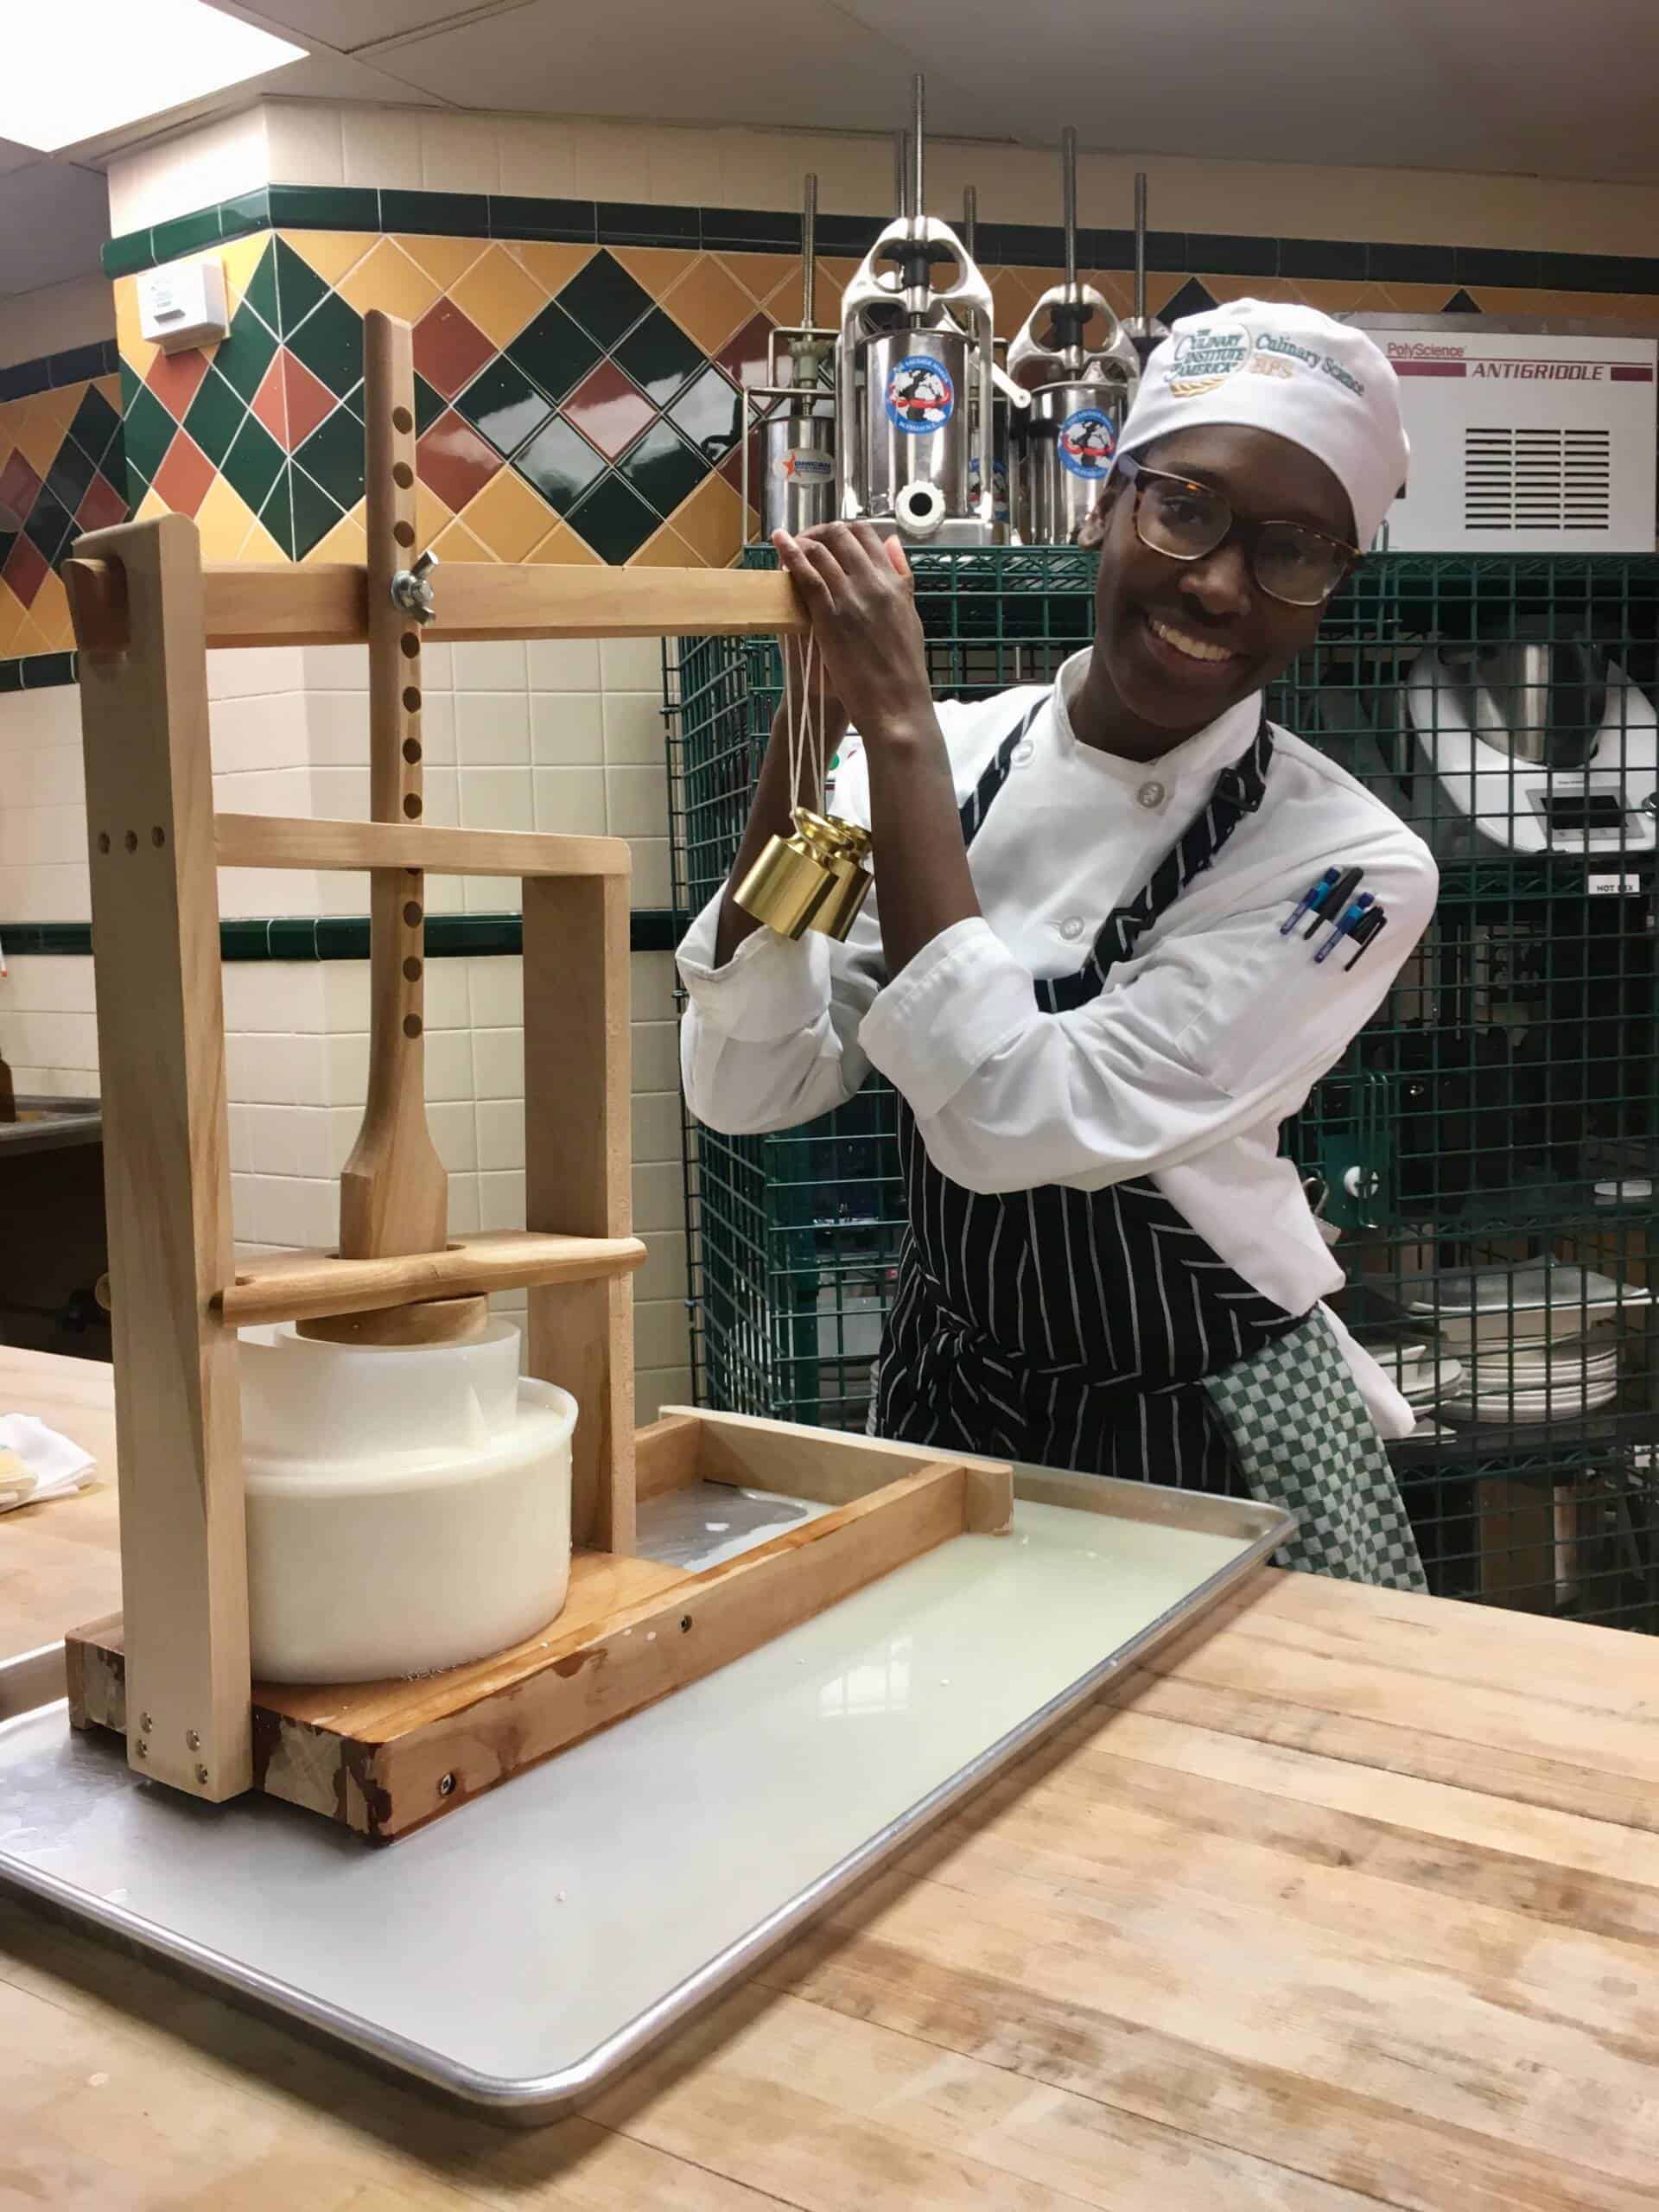
I had previously never even thought about how to make cheese. Pressing out the cheese was my favorite part of the process—we had to weight the crank down with bells to make it as heavy as possible.
Taking the cheese back to my dorm room and flipping it various times throughout the day made me feel like a real cheesemaker since that’s exactly what they have to do.
There were a lot of specific methods in this lab that had to be done just so or the cheese wouldn’t have come out right. If the cheese wasn’t flipped enough, it would have too much liquid, resulting in the cheese not setting properly and becoming droopy, among other issues.
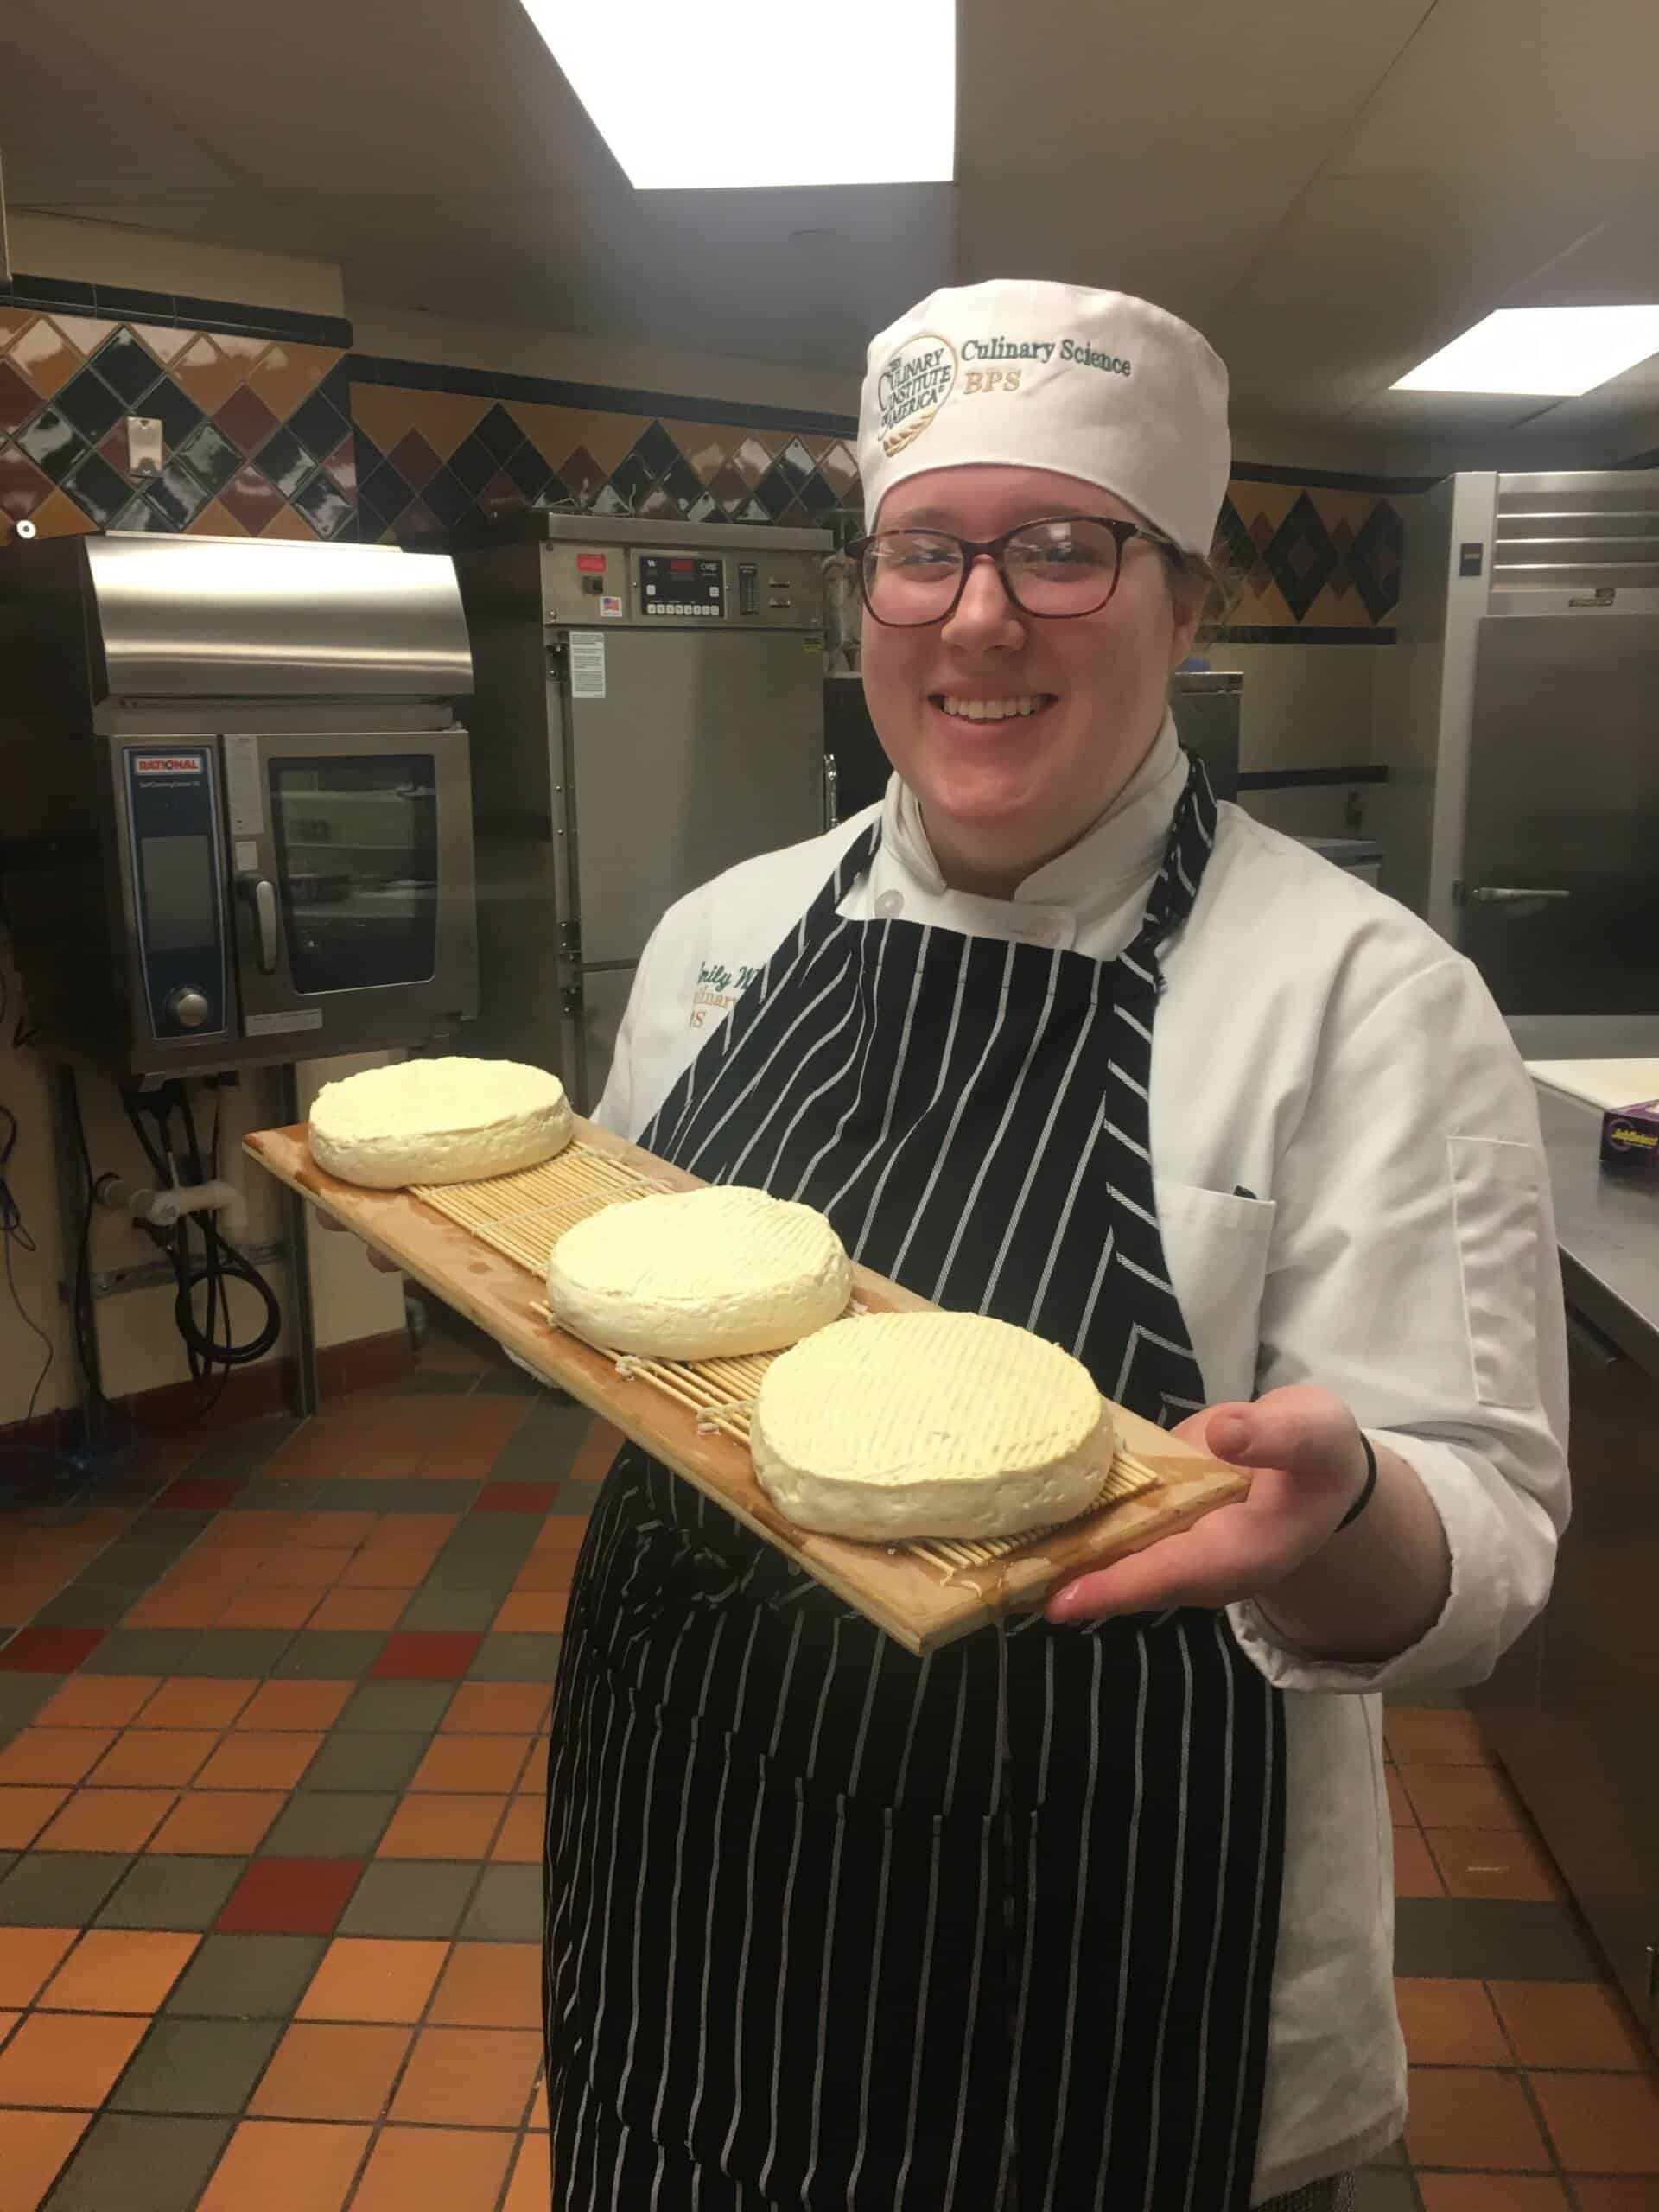
I now fully understand how much time and attention it takes for real-world cheesemakers to create the tasty cheeses we all enjoy eating. Next up, more fun in the lab: a fascinating class project making shelf-stable pasta sauce. See you soon!
