Have you ever had a piece of meat that was extremely dry? Most of us have a memory of when our mom would say “we’re having chicken for dinner”—this often meant a shriveled-up puck of meat that hopefully came with a boat of gravy to help choke it down. Thankfully, in the modern kitchen we have implemented a technique that involves combining vacuum packaging and a temperature controlled water bath to prevent this from happening. That’s right, I am talking about sous vide cooking.
Sous vide cooking has made its way from kitchens that are on the cutting edge of science to the household of the common cook or chef. With this technology, dried-out flavorless foods are a thing of the past. Not only does cooking sous vide ensure that the food item will be cooked to the perfect doneness; with help from a sealed impermeable plastic bag, it also allows maximum flavor and aroma retention! Not to say this cannot be achieved without this technique, but mastering the art of precision cooking requires thousands of hours of experience and expertise.
Even when the best chef is cooking, the phenomena of aroma/flavor loss is inevitable. Every time you hear a sizzle and see vapor coming off the food, that’s flavor leaving—and there’s no way to get it back. Having the food sealed in a bag makes flavor loss impossible as the vapors are trapped within. The kitchen is often an extremely busy environment, so why not let technology take some of the pressure off? With sous vide, you can ensure consistency every time and often set it and forget it…at least until the next order comes in.
Sous Vide in Culinary Science Class
When we used this technique in class, we started off by seasoning the short ribs with a heavy amount of salt and fresh ground black pepper. Once the short ribs were seasoned, we seared them in cast iron that was around 216°C. It is very important to have the oil smoking hot because we only want to develop a beautiful dark crust, and avoid cooking the meat internally as much as possible. Be sure to have long tongs when doing this sear; I did not use long tongs when turning the meat and extremely hot oil popped onto my hand, leaving me with second degree burns…so yeah, use long tongs!
After searing the meat, we need to chill it down. We chill the meat before vacuum packing because if we were to put it in the bag and vacuum it while hot, the steam being let off of the meat would expand the bag and make it unable to be submerged in the circulating water bath. When these simple steps are followed, and after a long cooking period, you are left with perfect, juicy, and flavorful short rib. Bring on the mashed potatoes!


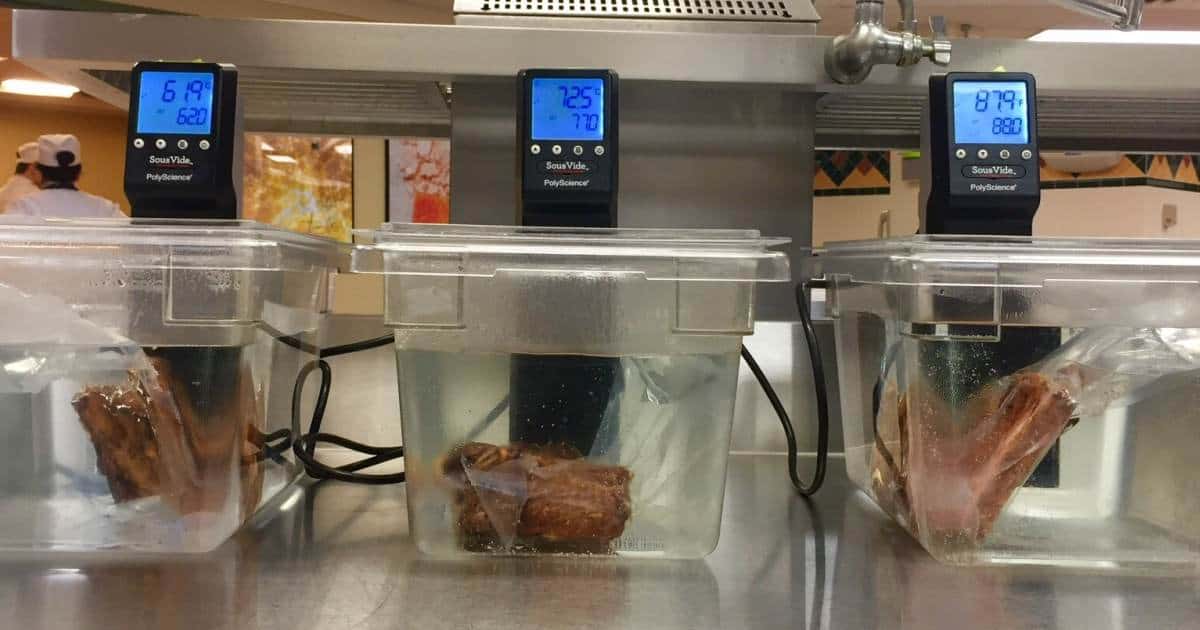
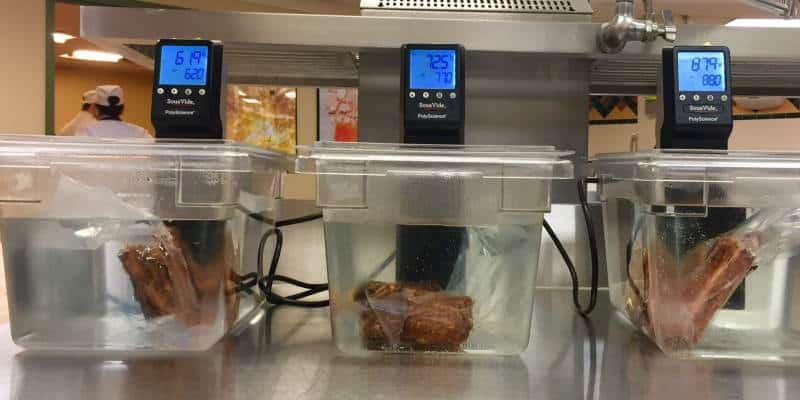
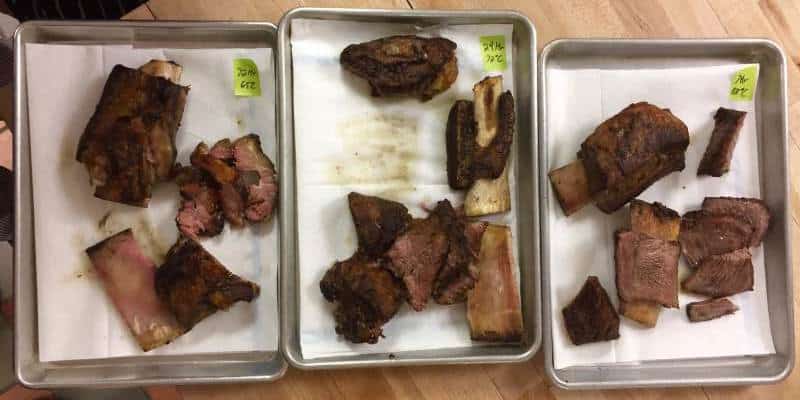
Left to right: 62°C cooked for 72 hours, 70°C cooked for 24 hours, 88°C cooked for 8 hours
- The 72-hour short rib had the mouthfeel of melting butter with a pink center; no need to chew here. This variation would appeal to those who love a rich mouthfeel!
- The 24-hour short rib was also extremely delicate—as you can see, the rib was falling apart at the touch. The center was still pink and the meat was juicy.
- The 8-hour short rib did not have a pretty pink center, and it was not nearly as delicate at the other two. It’s easy to see the benefits of long, controlled, precise cooking.
By Walker Alvey – Bachelor’s in Culinary Science Student
